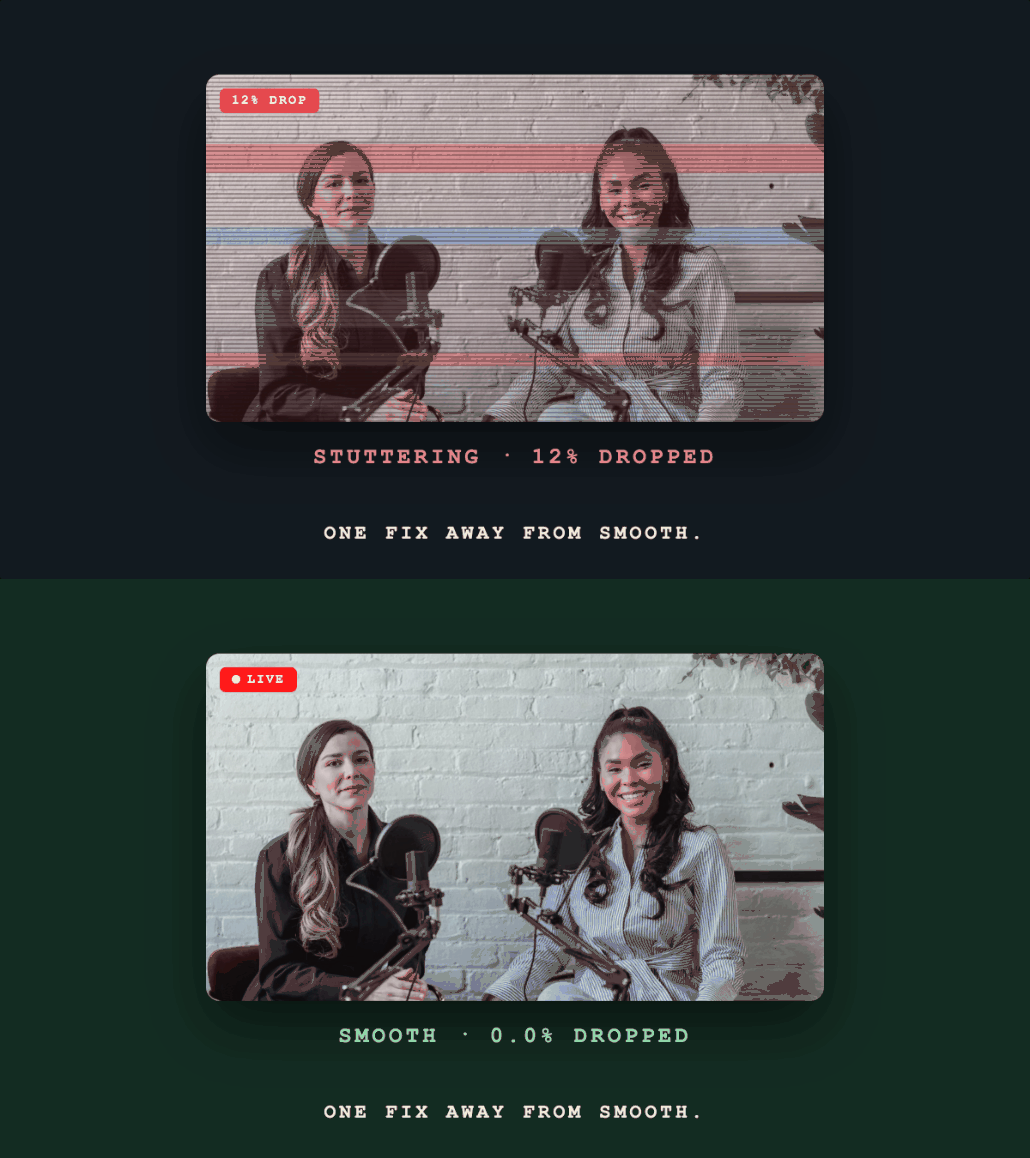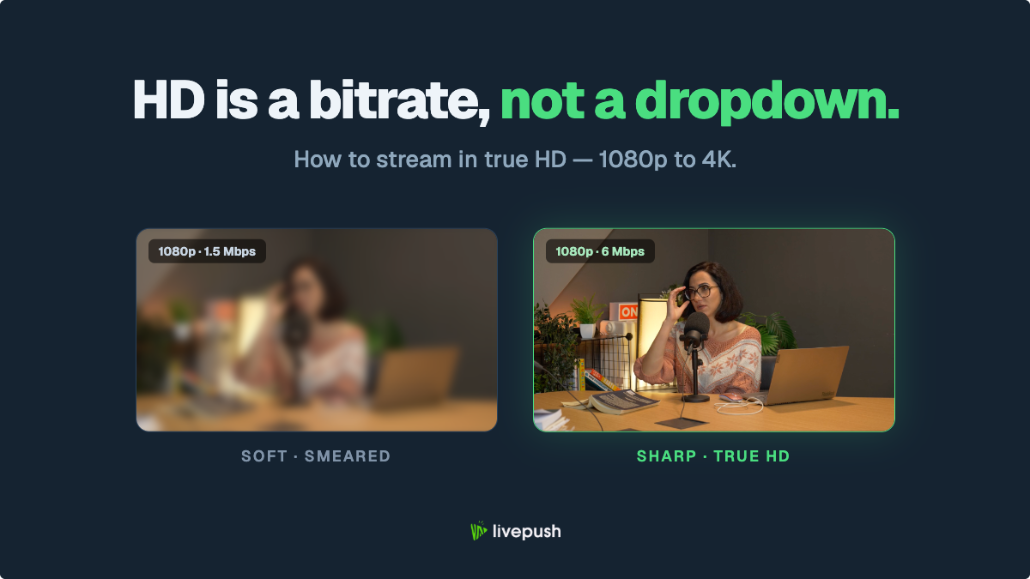
Getting a clean, sharp 1080p live stream starts in OBS settings. Most streaming problems (blurry video, buffering, dropped frames) come down to a handful of settings in OBS that are easy to fix once you know what each one does.
This guide covers every key OBS setting for 1080p streaming, with specific recommendations for YouTube, Facebook, and Twitch.
Quick-Start Settings for 1080p
If you want the short version, here are the settings that work for most streamers on a mid-range PC with a reliable upload of 10 Mbps or more:
| Setting | Recommended Value |
|---|---|
| Output Resolution | 1920×1080 |
| FPS | 30 (60 if upload allows) |
| Encoder | NVENC H.264 (GPU), Apple VT H264 (Mac), or x264 (CPU) |
| Rate Control | CBR |
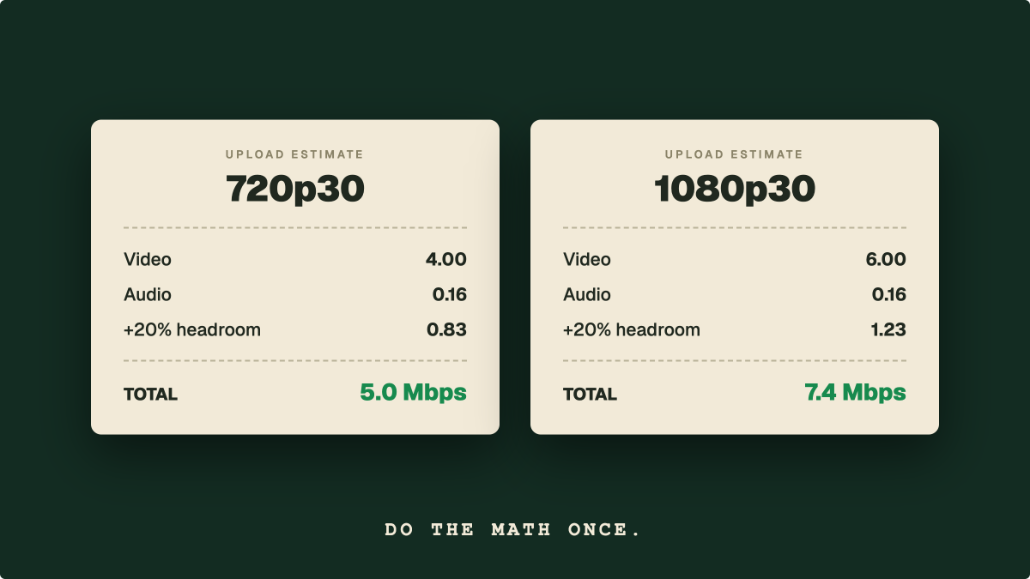
| Bitrate | 4,500–6,000 Kbps |
| Keyframe Interval | 2 seconds |
| Preset (NVENC) | P5: Slow (Good Quality), Tuning: High Quality, Multipass: Two Passes (Quarter Resolution) |
| Preset (x264) | veryfast |
| Profile | high |
| Audio Bitrate | 160 Kbps |
Now let's go through each of these in detail.
Output Resolution and FPS
Navigate to Settings → Video in OBS.
- Base (Canvas) Resolution: Set to your monitor resolution (e.g. 1920×1080).
- Output (Scaled) Resolution: Set to 1920×1080. This is what gets sent to the streaming server.
- Downscale Filter: Appears directly below the Output (Scaled) Resolution and only matters when your canvas is larger than your output. Pick Lanczos (36 samples); it keeps noticeably more sharpness than Bilinear.
- Common FPS Values: 30 FPS for most streams, 60 FPS for gaming if your upload supports it.
For 1080p 60fps at 6,000–8,000 Kbps, keep the bitrate at or below about 70% of your measured upload speed, which means a stable upload of roughly 9–12 Mbps. If your upload tests below about 9 Mbps, stick to 30fps.
Encoder Selection
Go to Settings → Output, set Output Mode to Advanced, then click the Streaming tab.
NVENC H.264 (Recommended for NVIDIA GPUs)
If you have an NVIDIA GPU (GTX 1060 or newer, RTX any), use NVENC. It encodes video on the GPU, which keeps your CPU free for the game or application you're streaming.
- Encoder: NVIDIA NVENC H.264
- Rate Control: CBR
- Bitrate: 5,000–6,000 Kbps
- Keyframe Interval: 2
- Preset: P5: Slow (Good Quality) (P6 if your GPU has headroom)
- Tuning: High Quality
- Multipass Mode: Two Passes (Quarter Resolution)
- Profile: high
- Look-ahead: Off (enabled can cause inconsistent latency)
- Psycho Visual Tuning: On
- Max B-frames: 2
Apple VT Hardware Encoder (Recommended for Mac)
On a Mac, the encoder dropdown looks different: there is no NVENC or x264-vs-GPU choice in the Windows sense. Instead, OBS offers Apple's VideoToolbox encoders. Pick Apple VT H264 Hardware Encoder. On any Apple Silicon Mac (M1 through M4, including the fanless MacBook Air) this runs on the chip's dedicated media engine, so encoding barely touches the CPU. It is the Mac equivalent of NVENC.
- Encoder: Apple VT H264 Hardware Encoder
- Rate Control: CBR
- Bitrate: 4,500–6,000 Kbps
- Keyframe Interval: 2
- Profile: high
Two things to avoid in that dropdown:
- Skip the HEVC options for streaming. Apple VT HEVC produces H.265. Facebook rejects it, Twitch only accepts it through Enhanced Broadcasting, and a Livepush or other relay endpoint may not take it either, so for going live pick H264. HEVC is great for local recordings, and for YouTube if HDR is the goal.
- Hardware, not Software. The Apple VT H264 Software Encoder is a CPU fallback. Only use it if the hardware option misbehaves on an older Intel Mac.
Apple VT exposes fewer knobs than NVENC or x264. That's fine: CBR, the bitrate, and the 2-second keyframe interval are the settings that actually matter.
x264 (CPU Encoder)
Use x264 if you don't have a supported GPU, or if you want to maximize quality and have a powerful CPU.
- Encoder: x264
- Rate Control: CBR
- Bitrate: 4,500–6,000 Kbps
- Keyframe Interval: 2
- CPU Usage Preset: veryfast (or faster if CPU is over 80%)
- Profile: high
- Tune: None (zerolatency only if streaming a non-gaming application)
Note: The x264 preset
veryfastgives a good quality/CPU balance. Drop toultrafastonly if OBS is showing encoding lag (red indicator in the bottom bar).
AMD AMF / VCE
AMD GPU users: set Encoder to AMD HW H.264. Use Quality preset, CBR rate control, 2-second keyframe interval. AMD hardware encoding has improved significantly in recent driver releases.
Rate Control: Why CBR Matters
Always use CBR (Constant Bitrate) for live streaming, not VBR or CQP. Streaming platforms expect a steady incoming bitrate. VBR can cause buffering or dropped frames at the ingest server because it sends bursts of data when action gets complex.
Keyframe Interval
Set to 2 seconds for all major platforms. This is the required interval for YouTube, Facebook, Twitch, and most RTMP servers. A keyframe every 2 seconds means viewers who join mid-stream can get a sharp image within 2 seconds instead of waiting for the next full frame.
In OBS: Output → Advanced → Streaming → Keyframe Interval = 2.
Audio Settings
Go to Settings → Output → Audio:
- Audio Bitrate: 160 Kbps (or 192 Kbps if audio quality is critical, e.g. music streams)
- Encoder: AAC
In Settings → Audio:
- Sample Rate: 48 kHz (the OBS default). 44.1 kHz also works on every platform; what matters is that all your audio devices use the same rate.
Bitrate by Platform
Different platforms publish different bitrate limits and recommendations:
| Platform | Published Limit (1080p) | Recommended |
|---|---|---|
| YouTube | No published cap (recommends 14,000 Kbps at 1080p30, 17,000 at 1080p60) | 6,000–8,000 Kbps, higher if your upload allows |
| 6,000 Kbps (1080p30), 9,000 Kbps (1080p60) | 4,500–6,000 Kbps | |
| Twitch | 6,000 Kbps over standard RTMP; 7,500 Kbps (1080p) or 9,000 Kbps (1440p HEVC) with Enhanced Broadcasting for Partners and Affiliates | 6,000 Kbps |
| Livepush RTMP | Unlimited | 5,000–8,000 Kbps |
Facebook publishes a range of 3,000 to 6,000 Kbps for 1080p30 and 4,500 to 9,000 Kbps for 1080p60. If you multistream to Facebook and YouTube from one OBS output, 6,000 Kbps sits inside both platforms' accepted ranges; a relay that transcodes per destination removes the constraint entirely.
How to Stream 1080p to Multiple Platforms at Once
OBS only sends your stream to one RTMP server natively. To reach YouTube, Facebook, Twitch, and more at the same time, you need a multistreaming service.
Livepush accepts your single OBS stream (at your full desired bitrate) and distributes it to all your platforms simultaneously. You send 1080p at 6,000 Kbps once and Livepush handles the rest.
Setup takes about 2 minutes: create a Livepush stream, copy the RTMP URL and stream key into OBS (Settings → Stream → Custom), then start streaming.
Livepush's free plan includes 3 simultaneous destinations and 20 hours/month. No credit card needed.
Testing Your Settings
Before going live, run a test stream:
- Start streaming in OBS and watch the bottom status bar.
- Dropped frames: If you see more than 0.5% dropped frames, lower your bitrate or check your network.
- CPU usage: If the CPU indicator turns orange, switch to a faster x264 preset or enable NVENC.
- Check your stream on the platform to verify resolution, quality, and audio sync.
The green indicator in OBS's bottom bar means all frames are being sent cleanly. If it turns yellow or red, something needs adjusting.
Multistream from OBS with one upload
Connect OBS to Livepush and go live to 40+ platforms at once.