Your Twitch stream key is a long string of letters and numbers that tells Twitch's servers which channel an incoming video feed belongs to. Every program that can broadcast to Twitch, from OBS Studio to a hardware encoder to a cloud multistreaming service, needs it. It is also the single most sensitive thing in your streaming setup, because anyone who has it can go live on your channel as you.
This guide covers finding the key, pasting it into your encoder the two ways Twitch supports, the settings Twitch actually recommends once you are connected, resetting a leaked key, and the short list of reasons a perfectly valid key refuses to connect. If you want the general concept first, our stream key explainer covers how keys work across every platform; this article is the Twitch-specific version.
What Is a Twitch Stream Key?
Think of Twitch's ingest servers as a building with one door per channel. The server URL is the building's address and the stream key is your door key. Your encoder connects to the address, presents the key, and Twitch routes the video to your channel page. That is the whole mechanism. It also explains the two properties that matter most: the key never changes unless you change it, and it carries no other security. Twitch does not check who is holding it.
Step 1: Find Your Twitch Stream Key
- Log in at twitch.tv on a desktop browser.
- Click your avatar (top right) and choose Creator Dashboard.
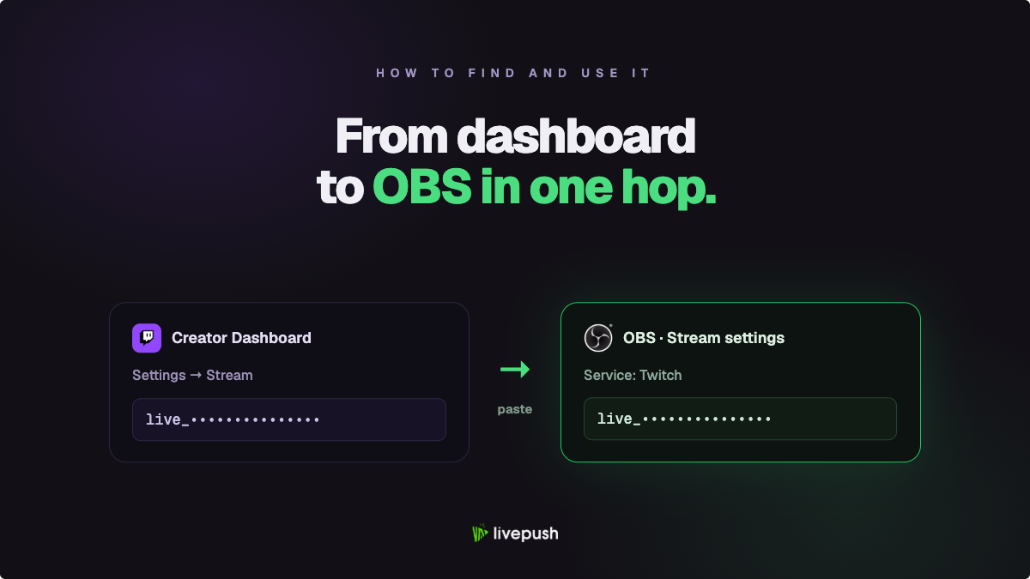
- In the left sidebar, open Settings, then Stream.
- The first block is Stream Key and Preferences. Your Primary Stream Key sits at the top with Copy and Reset buttons.
- Click Copy. Do not click Show while recording or streaming your screen.
Twitch requires two-factor authentication before it will let you stream, and the dashboard will not show your stream key until 2FA is on. Enable it under Settings, Security and Privacy. A leaked stream key is embarrassing; a leaked stream key on an account without 2FA can become someone else's channel for an evening.
The same page holds a few settings worth knowing about while you are there: Disconnect Protection (keeps your stream up for a short window if your encoder drops), Latency mode (Low Latency versus Normal), and Store past broadcasts (VODs). Content Classification Labels, which replaced the old Mature content toggle in 2023, are set separately in Stream Manager under Edit Stream Info. Disconnect Protection in particular is worth turning on before you ever need it.
Step 2: Paste It Into OBS (Two Ways)
OBS Studio supports Twitch two ways, and the difference matters if you plan to multistream later. (If OBS itself is new to you, our OBS Studio beginner's guide covers the interface and the settings that matter.)
Connect Account. Open Settings, Stream, choose Twitch as the service, and click Connect Account. Log in through the popup. OBS fetches the key for you, adds Twitch chat and stream info docks to the window, and unlocks Twitch-specific features such as Enhanced Broadcasting. You never see the key. This is the easiest path if Twitch is your only destination.
Use Stream Key. Same screen, service set to Twitch, but click Use Stream Key instead and paste what you copied in Step 1. The server dropdown defaults to Auto (Recommended), which picks the nearest Twitch ingest. This is the universal method: it works identically in Streamlabs Desktop, vMix, Wirecast, hardware encoders, and any custom RTMP field.
If you are pasting into a program that has no Twitch preset, the long-standing ingest alias still works:
rtmp://live.twitch.tv/app/Twitch's current published default is rtmp://ingest.global-contribute.live-video.net/app/, and both addresses land on the same servers. Twitch also runs regional ingest servers and publishes the current list at its ingest recommendation page. Auto is right for almost everyone; pick a specific region only if you are troubleshooting packet loss.
Step 3: Settings Twitch Recommends
Once connected, the output settings decide whether the stream looks crisp or smeared. These follow Twitch's published broadcasting guidelines:
| Setting | Recommended | Notes |
|---|---|---|
| Resolution and frame rate | 1920x1080 at 60 fps, or 1280x720 at 60 fps | 720p60 is the sweet spot for most home connections |
| Bitrate | Up to 6,000 kbps for most channels; Affiliates and Partners can send up to 7,500 kbps at 1080p and 9,000 kbps at 1440p since June 2026 | Stay at or under the ceiling for your tier; Twitch does not guarantee delivery above it |
| Rate control | CBR | Twitch does not want variable bitrate |
| Keyframe interval | 2 seconds | Twitch specifies 2; longer intervals cause quality-switching problems for viewers |
| Encoder | NVENC, AMD AMF, Apple VT, or x264 | Hardware encoders keep the CPU free for the game |
| Audio | AAC, 48 kHz, 160 kbps stereo | 160 kbps is what Twitch recommends; OBS caps Twitch audio at 320 kbps |
Two footnotes. First, unless you are a Partner or have transcoding on your stream, viewers get only the quality you send; a 6,000 kbps 1080p60 stream on a viewer's slow connection buffers. That is the argument for 720p60 at 4,500 kbps if your audience skews mobile. Second, Enhanced Broadcasting (Settings, Stream, with your account connected, OBS 32 or newer) lets OBS send several quality variants itself. Since June 2026 it also powers 1440p streaming at up to 9,000 kbps for Affiliates and Partners, and Dual Format (horizontal plus vertical) for every channel, at the cost of a lot more encoder work on your PC. Our 1080p OBS settings guide and video bitrate guide go deeper on the numbers.
How to Reset Your Twitch Stream Key
If the key appears on screen, ends up in a screenshot, or you shared it with a tool you no longer trust, reset it. Back on Creator Dashboard, Settings, Stream, click Reset next to the Primary Stream Key. The old key stops working immediately; the new one shows up in the same field. Then update every place the old key was pasted: OBS, any second encoder, and any cloud service with Twitch added as a custom destination. Services connected through Twitch login (rather than a pasted key) keep working, because they fetch the current key from Twitch each time.
Password changes also invalidate the key on many accounts. If Twitch refuses your connection right after you updated your password, that is the cause; copy the new key and you are back.
Using the Key With a Multistreaming Service
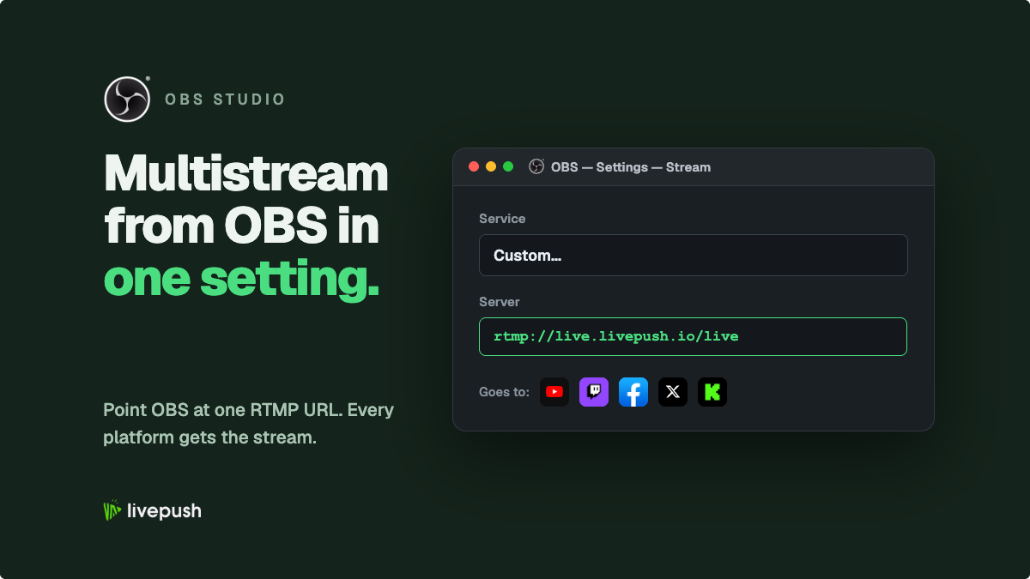
Twitch accepts one live connection per channel, so you cannot run OBS to Twitch and a second encoder to Twitch at once. What you can do is send one stream to a cloud service and let it hold the Twitch connection alongside YouTube, Kick, and everything else. Your PC uploads once; the service uploads to each platform.
With Livepush there are two ways to add Twitch as a destination, mirroring the two OBS methods. Login with Twitch links your account and Livepush pulls the key itself, so a reset on Twitch's side does not break anything. Manual connect pastes the stream key you copied in Step 1 into a Twitch destination, which is the route to use if you manage a channel you cannot log into directly. Either way, OBS points at Livepush's ingest instead of Twitch's, and Twitch sits in the destination list with the rest. Our OBS multistreaming guide walks through the whole flow and the bandwidth math behind it.
One thing to check first: Twitch's rules. Since October 2023, every streamer, including Affiliates and Partners, has been allowed to simulcast, with conditions laid out in Twitch's simulcasting guidelines: the Twitch stream must match or beat the quality you send elsewhere, you cannot display a merged multi-platform chat on your Twitch broadcast, and you cannot direct your Twitch viewers to another service during the stream. Streamers who signed an exclusivity contract are the exception. If you are in a paid program, skim your agreement before you add destinations.
Twitch Stream Key Not Working: Troubleshooting
| Symptom | Likely cause | Fix |
|---|---|---|
| "Failed to connect to server" instantly | Extra space or missing character in the pasted key | Re-copy with the Copy button, paste into an empty field |
| Connected, then dropped seconds later | Password changed, or key was reset elsewhere | Copy the current key from the dashboard |
| Connects but Twitch shows offline | A second encoder or service is already live with the key | Stop the other connection; Twitch allows one |
| Key field greyed out or missing | 2FA not enabled on the account | Enable 2FA under Security and Privacy, reload |
| Frequent disconnects with a good key | ISP or Wi-Fi instability, not the key | Wired ethernet, lower bitrate, try a specific ingest region |
| Stream dropped or capped at 8,000 kbps | Over the bitrate ceiling for your channel tier | Drop to 6,000 kbps CBR, or 7,500 kbps if you are an Affiliate or Partner |
| Blocky or stuttering video | Bitrate too low for the motion, or dropped frames | Raise bitrate within the ceiling; read our dropped frames fix |
If none of those match, the fastest diagnostic is a two-minute test stream: start OBS, watch the connection status in the Twitch dashboard's Stream Manager, and check the Stats dock in OBS for dropped frames. A key problem shows up as a refused connection; a network problem shows up as a connection that works and then degrades.
Keeping the Key Safe
Never type it into a chat, a Discord, or a support ticket, including Twitch's. Never show the Stream settings screen on a live stream or a recorded tutorial. If you use a scene that shows your desktop, add OBS itself to the exclusion or keep Settings closed. When a tool asks for your key and offers account login instead, take the login; the fewer places the raw string lives, the fewer places it can leak from. And if you ever do see your channel go live when you are not streaming, reset the key first and investigate second.
That is everything the key does and everything it needs. Copy it once, paste it carefully, protect it like a password, and then forget about it until you change your password or move to a new PC.
Stream to multiple platforms without extra bandwidth
Send one stream to Livepush and we fan it out to 40+ destinations.