OBS Studio is the free, open-source program most of the world's live streams start in. It captures your screen, game, camera, and microphone, lets you arrange them into scenes, compresses the result, and sends it to Twitch, YouTube, or wherever you point it. It also records. It runs on Windows, macOS, and Linux, and it costs nothing.
It is also famously intimidating on first launch: a dark window full of empty boxes and a Settings dialog with nine tabs. This guide shows you how to use OBS Studio from that first launch. By the end you will have installed OBS, built a first scene with your camera and screen, sorted your audio, understood the four settings that actually determine how your stream looks, gone live to one platform, and recorded a video. Every term is explained the first time it appears. If you already know your way around and just want numbers, our 1080p OBS settings guide is the shortcut.
What OBS Actually Does
Three jobs, in order. Compose: it takes inputs (a webcam, a game window, a microphone, an image) and layers them onto a canvas the way a video editor layers clips, except live. Encode: it compresses that canvas into a video stream small enough to travel over your internet connection, using either your processor (x264) or a dedicated chip on your graphics card. Deliver: it pushes the encoded video to a streaming platform over a protocol called RTMP, or writes it to a file on your disk, or both at once.
Everything in the interface serves one of those three jobs, which is a useful way to think about it when a menu looks confusing.
Step 1: Install and Run the Wizard
Download OBS from obsproject.com and nowhere else. The current line is version 32, released in September 2025 and updated through 2026; it added a basic plugin manager for switching installed plugins on and off, made Hybrid MP4 the default recording format, and raised the default streaming bitrate to a sensible 6,000 kbps.
On first launch, OBS opens the Auto-Configuration Wizard. Do not skip it. It asks whether you care more about streaming or recording, what resolution and frame rate you want, and then runs a short test of your hardware and (if you connect a streaming account) your upload speed. It sets the encoder, bitrate, and resolution to values your machine can sustain. You can change all of it later, and you can rerun the wizard anytime from Tools, Auto-Configuration Wizard. For a first stream, its choices are better than most hand-tuning.
Step 2: Learn the OBS Studio Interface
The main window has five docks along the bottom and a preview above them. Left to right:
| Dock | What it is | Beginner's use |
|---|---|---|
| Scenes | Named layouts, like slides in a deck | Make two: "Live" and "Be Right Back" |
| Sources | The things in the selected scene: camera, screen, text | Add, reorder, resize; top of the list is in front |
| Audio Mixer | Volume meters and faders for every audio source | Keep meters peaking in the yellow, never red |
| Scene Transitions | How the picture changes between scenes | Leave on Fade, 300 ms |
| Controls | Start Streaming, Start Recording, Studio Mode, Settings | The buttons you will actually click |
A scene is a layout. A source is one item in it. A stream usually has a handful of scenes (starting soon, main show, chatting, break, ending) and switches between them with a click or a hotkey. Sources live inside scenes, and the same camera can appear in several scenes at once.
If a dock disappears, View, Docks brings it back. View, Docks, Reset UI puts everything where it started.
Step 3: Build Your First Scene
Right-click in the Sources dock or click the + and pick a source type. The ones you need on day one:
- Video Capture Device: your webcam. Pick the camera, and set its resolution in the source properties if the default looks soft.
- Display Capture: your whole monitor. Simplest way to show your screen; also shows everything on it, notifications included.
- Window Capture: one application window, even when it is behind others. Cleaner than Display Capture for a browser or a slide deck.
- Game Capture (Windows): hooks directly into a running game for the smoothest performance. Use "Capture any fullscreen application" for the least fuss.
- Audio Input Capture: a microphone, if the Wizard did not already add one.
- Image, Text, Browser: logos, titles, and web-based overlays such as chat and alerts.
Once a source is in the scene, click it in the preview to get a red bounding box. Drag the corners to resize (hold Alt to crop instead), drag the middle to move. Sources higher in the list draw on top of sources lower down, so your webcam belongs above the game capture, not below it. Right-click a source for Filters, which is where color correction, chroma key (green screen), and crop live.
Build a second scene called "Be Right Back" with a Text source and, if you like, a Media Source playing background music. Switching to it during a bathroom break is the first professional habit to pick up.
Step 4: Get the Audio Right
Viewers forgive a blurry picture; they leave over bad audio. The Audio Mixer shows a meter per source. Speak at normal volume and aim for peaks in the yellow band (about -20 to -10 dB); red means clipping, and clipping cannot be fixed later.
Two sources matter for most setups: Desktop Audio (game and system sounds) and Mic/Aux (you). If either is missing or shows the wrong device, set them under Settings, Audio. Keep the sample rate at 48 kHz, the OBS default; every major platform accepts 44.1 or 48 kHz, and the only real rule is that all your audio devices use the same one.
Then add three filters to your microphone (click the gear next to its fader, then Filters, then +):
- Noise Suppression: the RNNoise option removes fan hum and keyboard clatter with almost no side effects.
- Compressor: evens out the difference between your quiet voice and your excited voice. Defaults are fine.
- Limiter: a hard ceiling at about -3 dB so a sudden shout never clips.
If you want to hear what viewers hear, right-click the mixer, choose Advanced Audio Properties, and set your mic's Audio Monitoring to "Monitor and Output". Turn it off again before you stream, or you will hear yourself on a delay.
Step 5: The Four OBS Studio Settings That Matter
Open Settings (bottom right, or File, Settings). Of the nine tabs, four decide how your stream looks and whether it stays connected. Everything else can wait.
Video. Two resolutions and a frame rate. Base (Canvas) Resolution is your design space; match it to your monitor, typically 1920x1080. Output (Scaled) Resolution is what you actually send; 1280x720 is the safe default, 1920x1080 if your connection and hardware allow. Common FPS Values: 30 for talking, teaching, and most webcam content; 60 for fast games.
Output. Set Output Mode to Simple for now. Video Bitrate is the big one: how many kilobits per second your stream uses. More bitrate, sharper picture, more upload needed. Video Encoder: pick the hardware option if you have one (NVIDIA NVENC, AMD, QuickSync, Apple VT); it takes the compression work off your CPU. Software (x264) is the fallback and works well for webcam-and-slides streams.
Stream. Choose your platform under Service, then either Connect Account (log in, OBS fetches your key) or Use Stream Key and paste the key from your platform's dashboard. Our stream key explainer covers where every platform hides it, and the Twitch stream key guide has the Twitch specifics.
Audio. 48 kHz sample rate, Stereo, and the right devices for Desktop Audio and Mic. Already covered above, but this is where it lives.
Here is how the numbers fit together for a first stream. Your bitrate should use no more than about 70% of your measured upload speed, which leaves room for the connection to wobble without your stream dropping frames.
| Tier | Upload speed you need | Output resolution and FPS | Video bitrate |
|---|---|---|---|
| Starter | 5 Mbps or more | 1280x720 at 30 fps | 3,000 kbps |
| Standard | 7 Mbps or more | 1280x720 at 60 fps | 4,500 kbps |
| Full HD | 9 Mbps or more | 1920x1080 at 60 fps | 6,000 kbps |
Run a speed test before you pick a row, and if the result surprises you, our bandwidth guide explains what the number means for streaming. The bitrate calculator will give you a starting figure for any resolution and frame rate, and our video bitrate guide explains why the same bitrate looks different on a talking head versus a racing game.
Step 6: Go Live
Click Start Streaming. OBS connects to your platform and the status bar at the bottom of the window turns green with a running clock. Open your channel in a browser or on your phone and watch for a minute: picture, sound, sync. The first stream should be a private or unlisted test, not your announced debut.
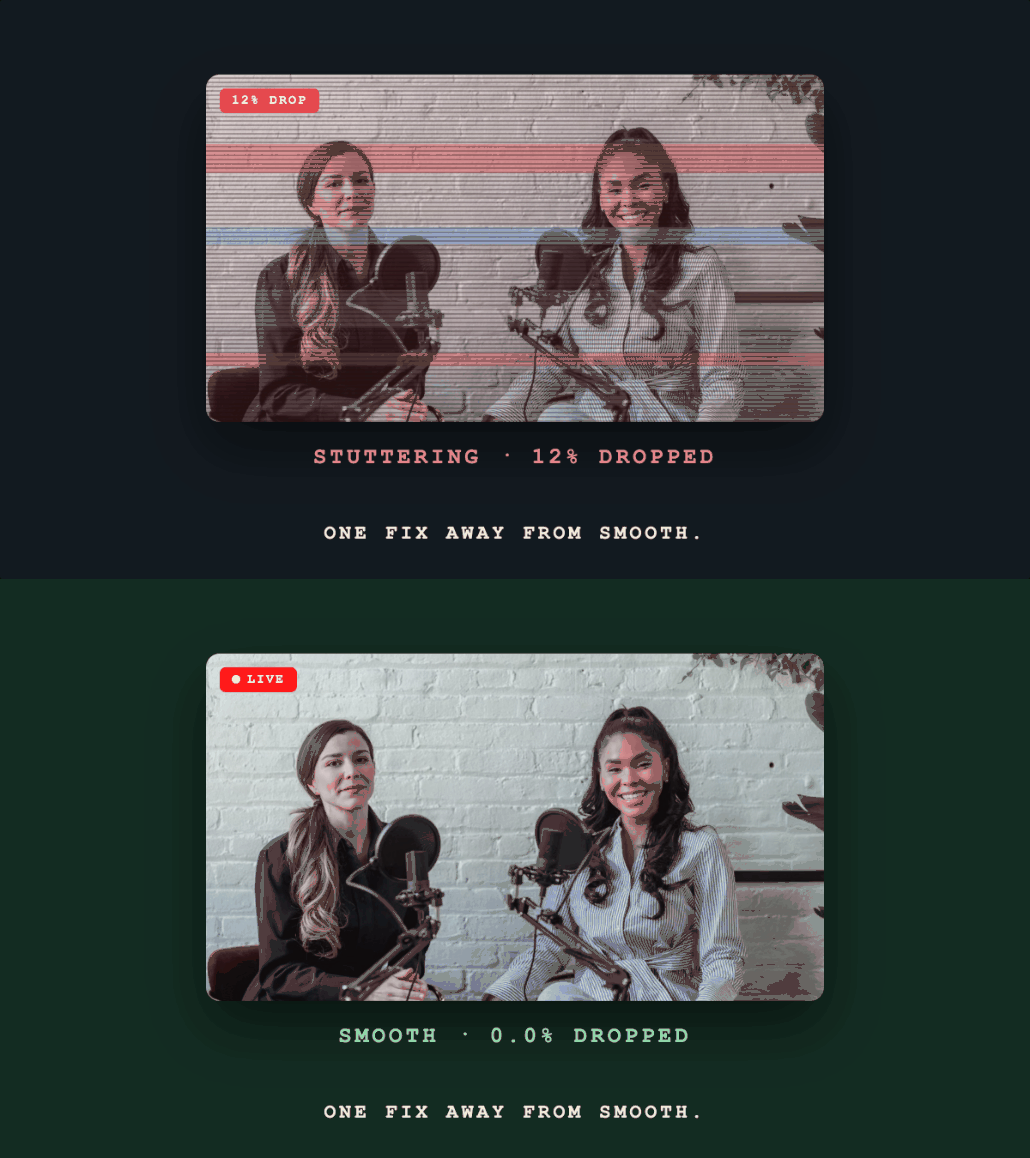
While you are live, watch two indicators. The green square at bottom right is connection health; if it turns yellow or red, your connection is not keeping up. View, Docks, Stats adds a panel with dropped frames and encoding lag. Dropped frames due to network means bitrate too high for your upload; skipped frames due to encoding means your encoder is overloaded. Both have straightforward fixes, covered in our dropped frames guide.
To stop, click Stop Streaming. Most platforms keep the broadcast page up for a few seconds after, so switch to your ending scene first.
Step 7: Record
Start Recording writes the same canvas to a file, and it works with or without a stream running. In Settings, Output (Simple mode), the Recording section sets the folder, the quality, and the format. OBS 32 records to Hybrid MP4 by default, which survives a crash or power cut without corrupting the file, a real improvement over plain MP4. Recording quality "Same as stream" reuses the stream encode and costs nothing extra; "High Quality" runs a second, better encode for a cleaner file if your hardware can spare it.
Recordings are not limited by your upload speed, which is why a local recording usually looks better than the stream of the same session. If you stream and record together, keep the recording at "Same as stream" until you know your PC has headroom.
Step 8: Three Features Worth Learning Early
Studio Mode (in Controls) splits the preview in two: what you are editing on the left, what viewers see on the right, with a Transition button between. It lets you fix a scene without the audience watching you do it.
Hotkeys (Settings, Hotkeys) bind keys to scene switches, mute, and start/stop. Muting your mic with a keyboard shortcut is the single most useful one. A cheap USB macro pad turns hotkeys into a physical switcher.
Scene Collections and Profiles (top menu) keep setups separate. A Scene Collection is a set of scenes and sources; a Profile is a set of Settings. Make a Profile per platform (YouTube at 1080p, Twitch at 720p60) and a Scene Collection per show, and switching between them is two clicks instead of a re-configuration.
What Changed in OBS 32
If you are following an older tutorial, a few things moved. The plugin manager (32.0, improved in 32.1) lists your installed plugins and lets you switch them on and off from inside OBS; you still download and install plugins from their own installers or the OBS plugin folder. The Audio Mixer was rebuilt in 32.1 (March 2026) with a vertical default layout, pinning, and the ability to show sources that are not in the current scene. Hybrid MP4 became the default recording format for new profiles, replacing fragmented MP4 (and the MKV default of much older versions) with a file that survives crashes and still opens everywhere. The default streaming bitrate jumped from 2,500 to 6,000 kbps, which is the right default for modern connections but worth checking if you are on a slow upload. Enhanced Broadcasting (Settings, Stream, with a Twitch account connected) lets OBS send several quality variants itself, and since OBS 31.1 (July 2025) can send a second, vertical canvas alongside the horizontal one, which Twitch opened to every streamer as Dual Format in June 2026 (vertical and horizontal at the same time). Release notes for every version live on the OBS blog.
Next Steps
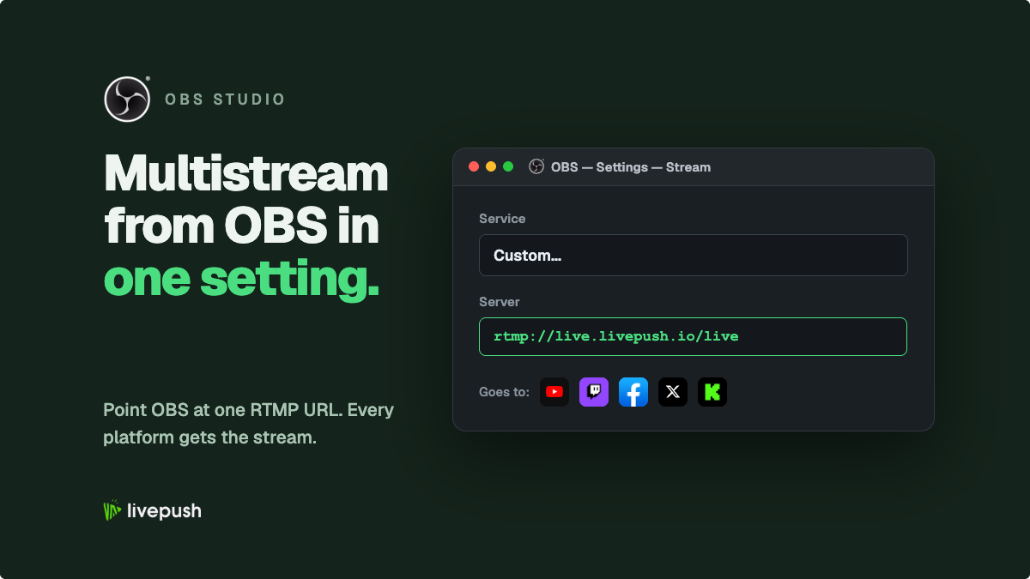
Once one platform works, the natural next question is how to be on two. OBS has a single streaming output, so being live on YouTube and Twitch together means either a plugin that adds outputs (and doubles your upload and encoding) or a cloud service that takes your one stream and forwards it everywhere. Our OBS multistreaming guide compares both; the short version is that with Livepush, OBS streams to one RTMP endpoint exactly as you set it up today, and Livepush fans that stream out to 40+ platforms while your PC does the work of a single broadcast.
Beyond that, the roads branch: chroma key and lighting for a cleaner camera, browser-source overlays for alerts and chat, a second PC or a capture card for console games, the vertical canvas for phone viewers. If you are still wondering whether Streamlabs would have been the easier start, our OBS vs Streamlabs comparison settles that question. None of it is required for a good first stream. A camera, a mic with three filters, a 720p60 output at 4,500 kbps, and a "Be Right Back" scene will carry you further than most people expect.
Start the test stream. The button is bottom right.
Multistream from OBS with one upload
Connect OBS to Livepush and go live to 40+ platforms at once.